Web Server AP Mode with Arduino Nano RP2040 Connect
Learn how to set up your board as an access point, allowing other clients to connect via browser, to control and monitor data.
Introduction
The Nano RP2040 Connect features a Wi-Fi module and an RGB LED among many other things. In this tutorial we will take a look at how we turn our board into an access point, and control the built-in RGB through a browser connected to the access point.
Note: if you need help setting up your environment to use your Arduino Nano RP2040 board, please refer to this installation guide.
Goals
The goals of this project are:
- Create an access point (AP).
- Set up a web server.
- Connect to the server through a browser.
- Control the RGB LED.
Hardware & Software Needed
- Arduino IDE (online or offline).
- WiFiNINA library.
- Arduino Nano RP2040 Connect.
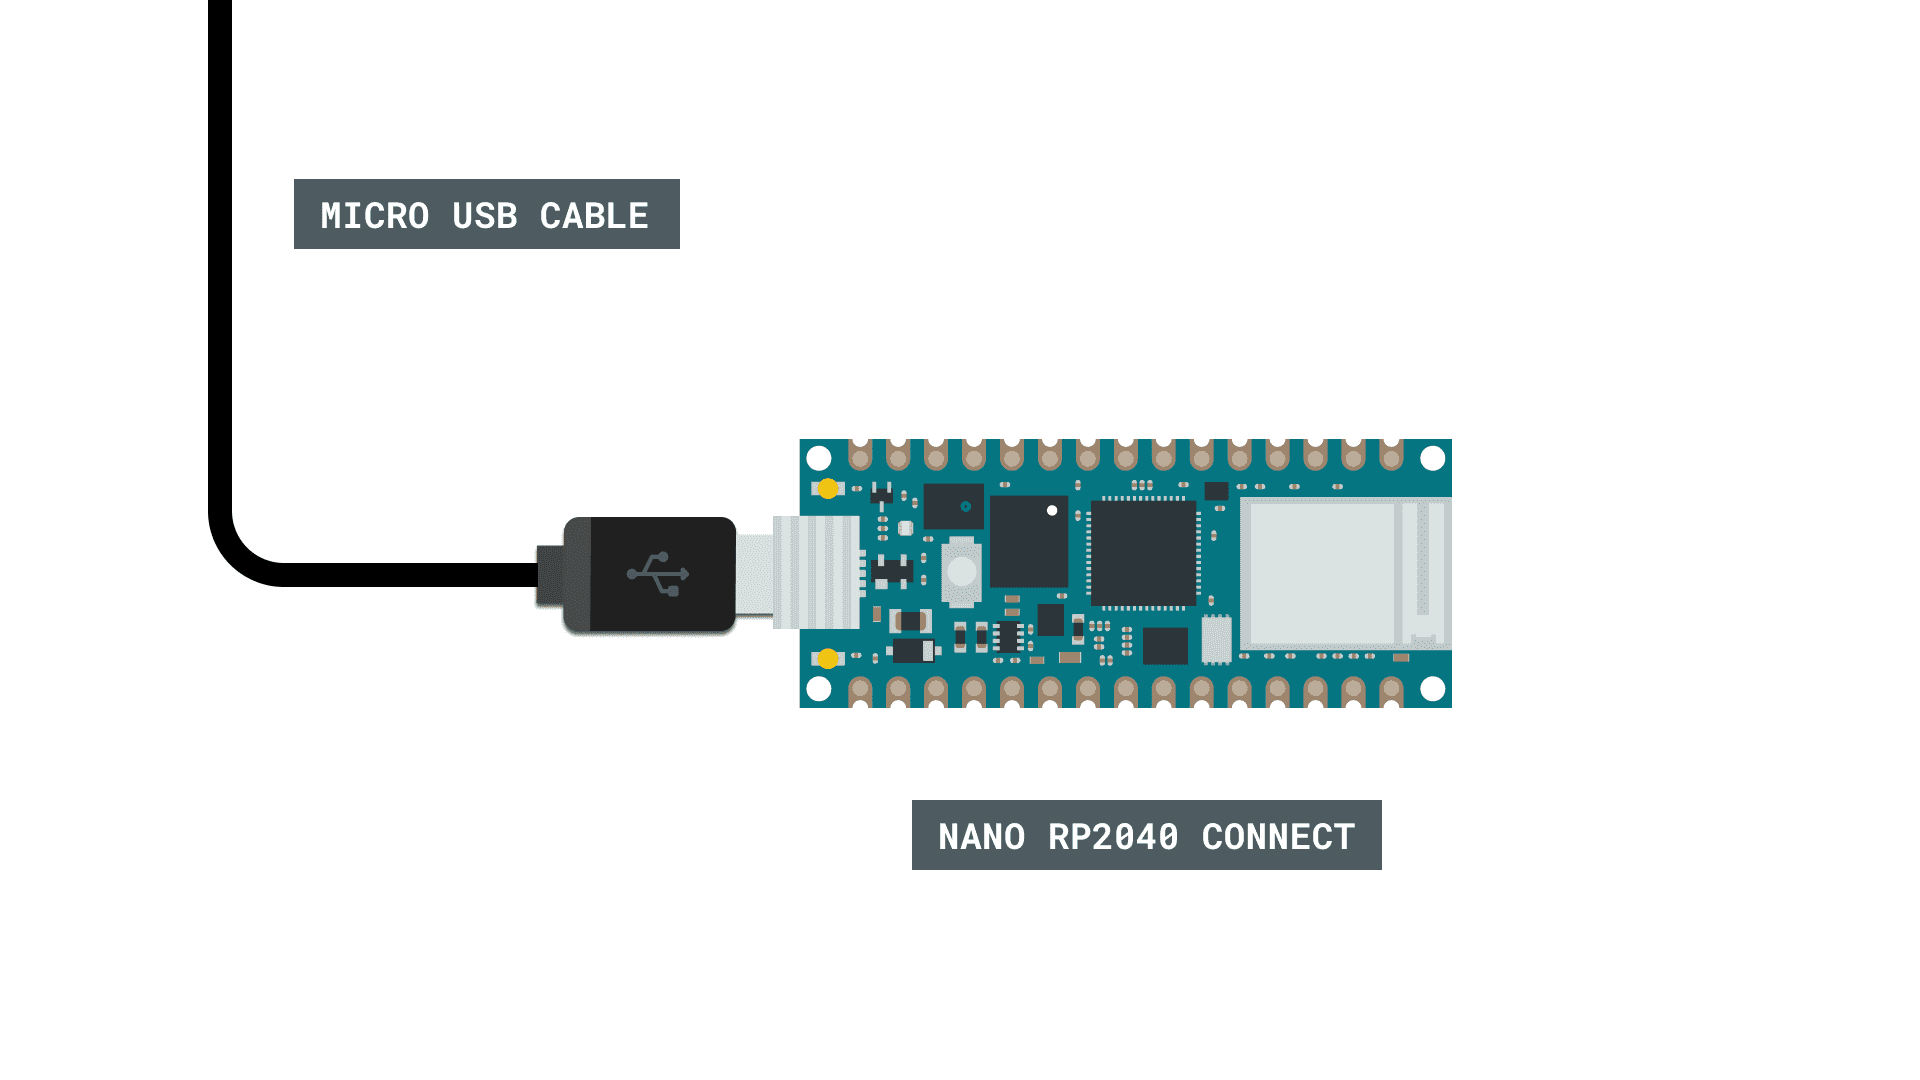
Circuit
Controlling over Wi-Fi
There are multiple ways we can access our board over Wi-Fi. In this tutorial, we will turn our board into a web server, that will listen for incoming GET requests.
Simply explained, we will set up our board as an access point, and start hosting a web server on a specific IP address. The device will now show up in the list of available Wi-Fi networks on for example your smartphone or computer.
If we connect to this access point, and enter the board's address in the browser of a computer/browser on the same network, we make a request to this server. The server responds with a set of HTML instructions, which can then be viewed in the browser.
Controlling an Arduino Through the Browser
Inside the HTML instructions that we print, or send to the browser, we can create buttons. These buttons can be modified to add something to the URL. Here is an example of how a button is created:
1<button class='red' type='submit' onmousedown='location.href=\"/RH\"'>ON</button>The most important is what we put inside
href/RHhttp://<board-ip>/RH1if (currentLine.endsWith("GET /RH")) {2 doSomething();3 }By using this method, we can set up many more buttons that can control different aspects of our Arduino, and is a great building block for creating a control interface for your board that can be controlled through a browser, over Wi-Fi.
Programming the Board
We will now get to the programming part of this tutorial.
First, let's make sure we have the drivers installed. If we are using the Web Editor, we do not need to install anything. If we are using an offline editor, we need to install it manually. This can be done by navigating to Tools > Board > Board Manager.... Here we need to look for the Arduino Mbed OS Nano Boards and install it.
Now, we need to install the libraries needed. If we are using the Web Editor, there is no need to install anything. If we are using an offline editor, simply go to Tools > Manage libraries.., and search for WiFiNINA and install it.
We can now take a look at some of the core functions of this sketch:
- create a network name.char ssid[] = ""
- create a network password.char pass[] = ""
- creates an access point with the stored credentials.WiFi.beginAP(ssid, pass)
- creates a server that listens for incoming connections on the specified port.WiFiServer server(80)
- creates a client that can connect to to a specified internet IP address.WiFiClient client
- tells the server to begin listening for incoming connections.server.begin()
- checks for connected clients.client.connected
- checks for available data.client.available
- reads the available data.client.read
- print something to the client (e.g. html code).client.print()
- closes the connection.client.stop()
The sketch can be found in the snippet below. Upload the sketch to the board.
Note: both
and ssid
needs to be a minimum of 8 characters long pass
1#include <SPI.h>2#include <WiFiNINA.h>3
4char ssid[] = "yournetwork"; // your network SSID (name)5char pass[] = "yourpassword"; // your network password (use for WPA, or use as key for WEP)6int keyIndex = 0; // your network key index number (needed only for WEP)7
8int status = WL_IDLE_STATUS;9WiFiServer server(80);10
11void setup() {12 //Initialize serial and wait for port to open:13 Serial.begin(9600);14 while (!Serial) {15 ; // wait for serial port to connect. Needed for native USB port only16 }17
18 Serial.println("Access Point Web Server");19
20 pinMode(LEDR, OUTPUT);21 pinMode(LEDG, OUTPUT);22 pinMode(LEDB, OUTPUT);23
24 // check for the WiFi module:25 if (WiFi.status() == WL_NO_MODULE) {26 Serial.println("Communication with WiFi module failed!");27 // don't continue28 while (true);29 }30
31 String fv = WiFi.firmwareVersion();32 if (fv < WIFI_FIRMWARE_LATEST_VERSION) {33 Serial.println("Please upgrade the firmware");34 }35
36 // by default the local IP address will be 192.168.4.137 // you can override it with the following:38 // WiFi.config(IPAddress(10, 0, 0, 1));39
40 // print the network name (SSID);41 Serial.print("Creating access point named: ");42 Serial.println(ssid);43
44 // Create open network. Change this line if you want to create an WEP network:45 status = WiFi.beginAP(ssid, pass);46 if (status != WL_AP_LISTENING) {47 Serial.println("Creating access point failed");48 // don't continue49 while (true);50 }51
52 // wait 10 seconds for connection:53 delay(10000);54
55 // start the web server on port 8056 server.begin();57
58 // you're connected now, so print out the status59 printWiFiStatus();60}61
62
63void loop() {64 // compare the previous status to the current status65 if (status != WiFi.status()) {66 // it has changed update the variable67 status = WiFi.status();68
69 if (status == WL_AP_CONNECTED) {70 // a device has connected to the AP71 Serial.println("Device connected to AP");72 } else {73 // a device has disconnected from the AP, and we are back in listening mode74 Serial.println("Device disconnected from AP");75 }76 }77 78 WiFiClient client = server.available(); // listen for incoming clients79
80 if (client) { // if you get a client,81 Serial.println("new client"); // print a message out the serial port82 String currentLine = ""; // make a String to hold incoming data from the client83 while (client.connected()) { // loop while the client's connected84 if (client.available()) { // if there's bytes to read from the client,85 char c = client.read(); // read a byte, then86 Serial.write(c); // print it out the serial monitor87 if (c == '\n') { // if the byte is a newline character88
89 // if the current line is blank, you got two newline characters in a row.90 // that's the end of the client HTTP request, so send a response:91 if (currentLine.length() == 0) {92 // HTTP headers always start with a response code (e.g. HTTP/1.1 200 OK)93 // and a content-type so the client knows what's coming, then a blank line:94 client.println("HTTP/1.1 200 OK");95 client.println("Content-type:text/html");96 client.println();97
98 // the content of the HTTP response follows the header:99 client.print("<style>");100 client.print(".container {margin: 0 auto; text-align: center; margin-top: 100px;}");101 client.print("button {color: white; width: 100px; height: 100px;");102 client.print("border-radius: 50%; margin: 20px; border: none; font-size: 20px; outline: none; transition: all 0.2s;}");103 client.print(".red{background-color: rgb(196, 39, 39);}");104 client.print(".green{background-color: rgb(39, 121, 39);}");105 client.print(".blue {background-color: rgb(5, 87, 180);}");106 client.print(".off{background-color: grey;}");107 client.print("button:hover{cursor: pointer; opacity: 0.7;}");108 client.print("</style>");109 client.print("<div class='container'>");110 client.print("<button class='red' type='submit' onmousedown='location.href=\"/RH\"'>ON</button>");111 client.print("<button class='off' type='submit' onmousedown='location.href=\"/RL\"'>OFF</button><br>");112 client.print("<button class='green' type='submit' onmousedown='location.href=\"/GH\"'>ON</button>");113 client.print("<button class='off' type='submit' onmousedown='location.href=\"/GL\"'>OFF</button><br>");114 client.print("<button class='blue' type='submit' onmousedown='location.href=\"/BH\"'>ON</button>");115 client.print("<button class='off' type='submit' onmousedown='location.href=\"/BL\"'>OFF</button>");116 client.print("</div>");117
118 // The HTTP response ends with another blank line:119 client.println();120 // break out of the while loop:121 break;122 } else { // if you got a newline, then clear currentLine:123 currentLine = "";124 }125 } else if (c != '\r') { // if you got anything else but a carriage return character,126 currentLine += c; // add it to the end of the currentLine127 }128
129 // Check to see if the client request was /X130 if (currentLine.endsWith("GET /RH")) {131 digitalWrite(LEDR, HIGH);132 }133 if (currentLine.endsWith("GET /RL")) {134 digitalWrite(LEDR, LOW); 135 }136 if (currentLine.endsWith("GET /GH")) {137 digitalWrite(LEDG, HIGH); 138 }139 if (currentLine.endsWith("GET /GL")) {140 digitalWrite(LEDG, LOW); 141 }142 if (currentLine.endsWith("GET /BH")) {143 digitalWrite(LEDB, HIGH); 144 }145 if (currentLine.endsWith("GET /BL")) {146 digitalWrite(LEDB, LOW); 147 }148 }149 }150 // close the connection:151 client.stop();152 Serial.println("client disconnected");153 }154}155
156void printWiFiStatus() {157 // print the SSID of the network you're attached to:158 Serial.print("SSID: ");159 Serial.println(WiFi.SSID());160
161 // print your WiFi shield's IP address:162 IPAddress ip = WiFi.localIP();163 Serial.print("IP Address: ");164 Serial.println(ip);165
166 // print where to go in a browser:167 Serial.print("To see this page in action, open a browser to http://");168 Serial.println(ip);169
170}Testing It Out
After the code has been successfully uploaded to the board, we need to open the Serial Monitor to initialize the program.
When we open it, it will attempt to create an access point, and if it is successful, it will print out the boards IP address in the Serial Monitor.
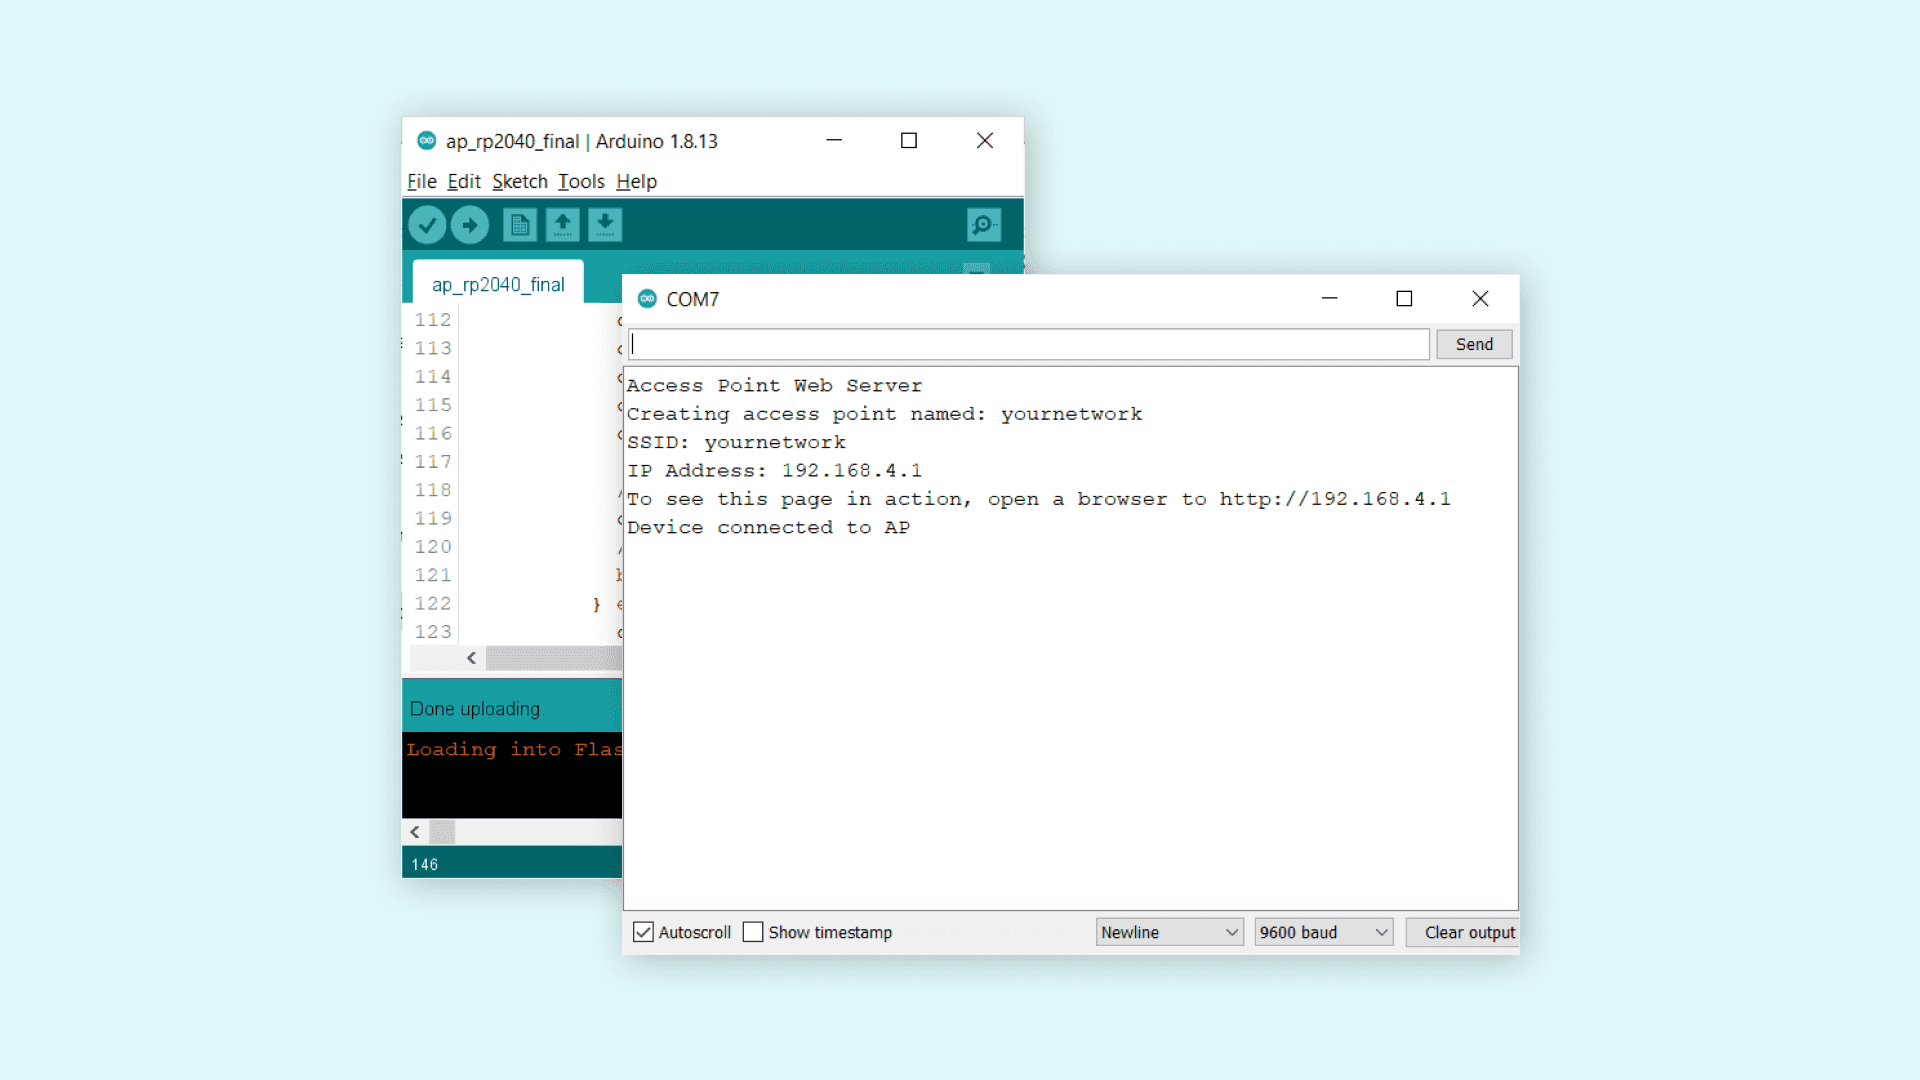
We will now need to connect to this access point through either our smartphone or computer, by browsing the list of available networks.

Once we have connected, we need to copy the enter the address that was printed in the Serial Monitor, in the browser of our device. We should now see a web page with a set of colored buttons.
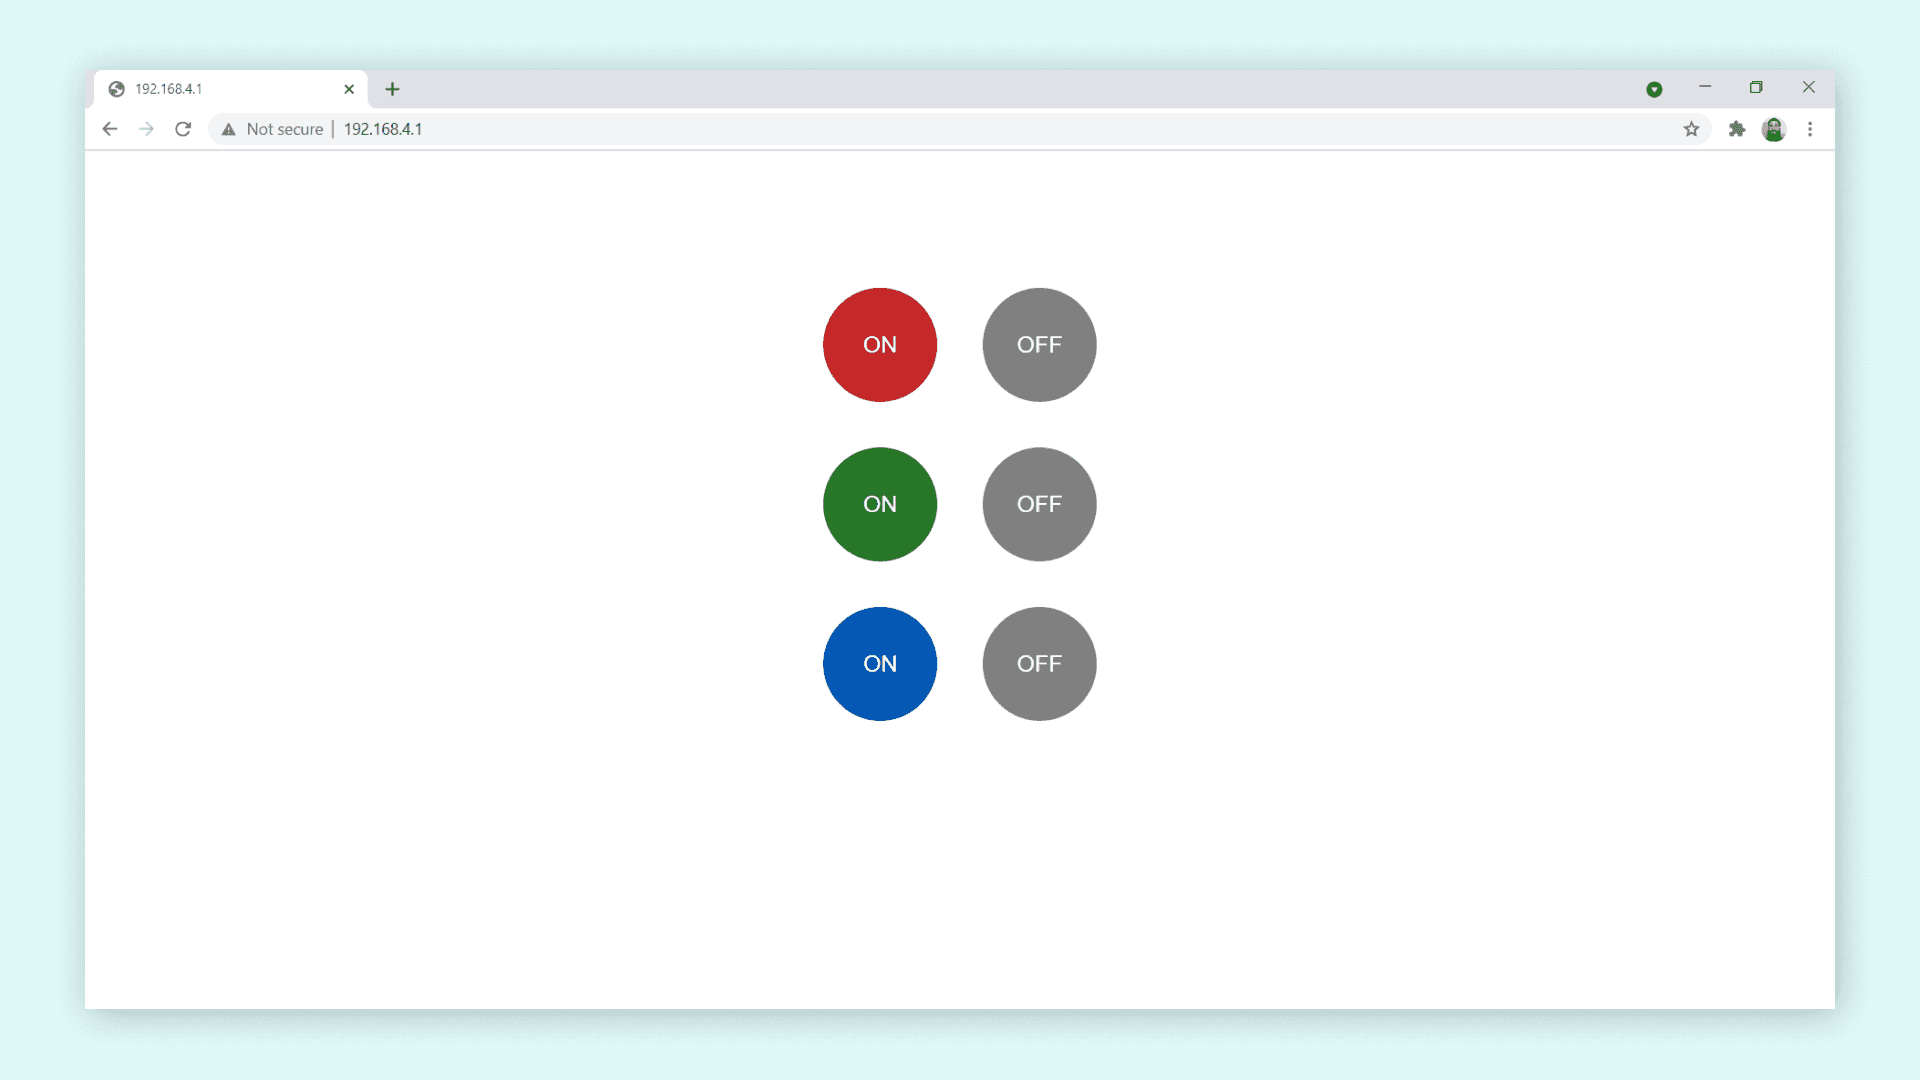
We can now interact with the different buttons. The buttons available are used to control the built-in RGB LED on the Nano RP2040 Connect. There's six buttons in total, three to turn ON the different colors, and three to turn them off.
Troubleshoot
If the code is not working, there are some common issues we can troubleshoot:
- We have entered the wrong credentials to our Wi-Fi network.
- We have not installed the WiFiNINA library.
- The WiFiNINA library is updated (can be done in the library manager).
Conclusion
In this tutorial, we have turned our Nano RP2040 Connect into a web server, which different clients can connect to. We have then used the /GET method in order to change the RGB LED on the board, through a set of buttons accessible from the browser.
This method can be quite useful for turning something ON or OFF remotely, and can be an ideal solution for building smart home applications. You can easily replace the control of the RGB LED with something else, such as controlling a motor, relays or other actuators.
Suggested changes
The content on docs.arduino.cc is facilitated through a public GitHub repository. You can read more on how to contribute in the contribution policy.
License
The Arduino documentation is licensed under the Creative Commons Attribution-Share Alike 4.0 license.